
Aerators are eco-friendly and cost-effective water conservation tips, reducing usage without sacrificing flow or pressure. Suitable for households and commercial settings, they come in various types for different fixtures and needs. Installation is straightforward, involving unscrewing the existing nozzle and threading on the aerator. By mixing air with water, aerators deliver a powerful flow while significantly decreasing water consumption compared to traditional faucets, helping save money on bills and contribute to broader sustainability efforts in responsible water management.
Looking to cut down on water usage without sacrificing performance? Consider installing aerators in your faucets. This simple upgrade combines style with substance, offering both water and energy savings. In this guide, we’ll walk you through the process of selecting and installing aerators, highlighting the different types available. We’ll also explore the significant impact these devices have on water conservation tips for your home, contributing to a greener future.
- Understanding Aerators and Their Benefits
- Types of Aerators and Their Installation
- Water Conservation: The Impact of Aerated Faucets
- Step-by-Step Guide to Installing Aerators at Home
Understanding Aerators and Their Benefits
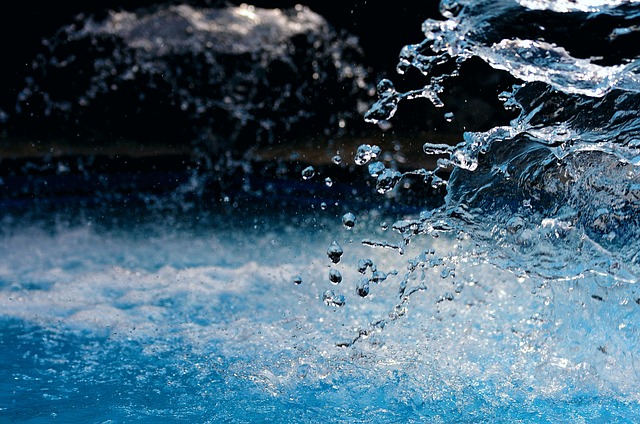
Aerators are devices that mix air with water flowing through a faucet, reducing water usage while maintaining similar pressure and flow rate. By introducing air, aerators create a sense of fullness in your hand, giving you the same sensory experience as a full-flow faucet—but with significantly less water. This simple yet powerful tool is not only an eco-friendly choice but also offers substantial financial savings on your water bills.
One of the key benefits of installing aerators is their contribution to water conservation tips. They are particularly effective in households and commercial settings where high-flow faucets are common, such as restaurants and hotels. By retrofitting existing faucets with aerators, you can easily cut down on water wastage without compromising on functionality or comfort. Additionally, many modern aerators come with self-cleaning designs, ensuring they remain efficient over time.
Types of Aerators and Their Installation

Aerators are an excellent way to reduce water consumption while maintaining pressure, offering valuable water conservation tips. There are various types available, each designed for specific fixtures and needs. The most common types include:
1. Standard Aerators: These are simple, screw-on devices that mix air with water, reducing flow without significantly impacting pressure. They’re perfect for everyday use and easy to install on most faucets. 2. Low-Flow Aerators: Designed for areas where water conservation is paramount, these aerators restrict flow even further while still maintaining adequate pressure for regular use. They’re ideal for bathrooms and kitchens. 3. Customized Aerators: Offered in various settings and styles, these allow you to control the water mix, perfect for specific tasks like delicate washing or heavy cleaning. Installation typically involves unscrewing the existing faucet nozzle and threading on the aerator. It’s a simple process that can be done with basic tools and significantly contributes to eco-friendly practices.
Water Conservation: The Impact of Aerated Faucets

Water conservation has become a global priority, and every drop counts. One simple yet effective way to reduce water consumption is by installing aerators on your faucets. These devices mix air with water, creating a powerful flow while using less water than traditional faucets. In a time when water resources are under increasing strain, adopting water conservation tips like this one can make a significant difference.
Aerated faucets offer an eco-friendly solution, allowing you to enjoy the same level of cleanliness and comfort as before, but with reduced water usage. This not only helps preserve our precious water supplies but also translates into substantial savings on your water bills. By making a small change at home, you contribute to a larger movement towards sustainability and responsible water management.
Step-by-Step Guide to Installing Aerators at Home

Installing aerators on your faucets is a simple DIY project that can significantly contribute to water conservation tips at home. Here’s a step-by-step guide to help you get started. First, gather the necessary tools including an adjustable wrench or pliers, and the aerator itself, which can be purchased from any hardware store. Turn off the water supply valves beneath each faucet using your wrench or pliers; this ensures no water runs while you work. Next, remove the existing faucet head by unscrewing it counterclockwise with the appropriate tool. Once removed, inspect the threads on the faucet’s neck to ensure they’re clean and free of debris. Wrap a thin layer of thread sealing tape around the threads before inserting the aerator, ensuring a secure fit and minimizing water leakage. Screw the aerator onto the faucet’s neck in a clockwise direction using your tool, until it’s tightly in place. Finally, turn on the water supply valves and test the flow at each faucet to confirm proper installation and water conservation.